
April 11, 2024
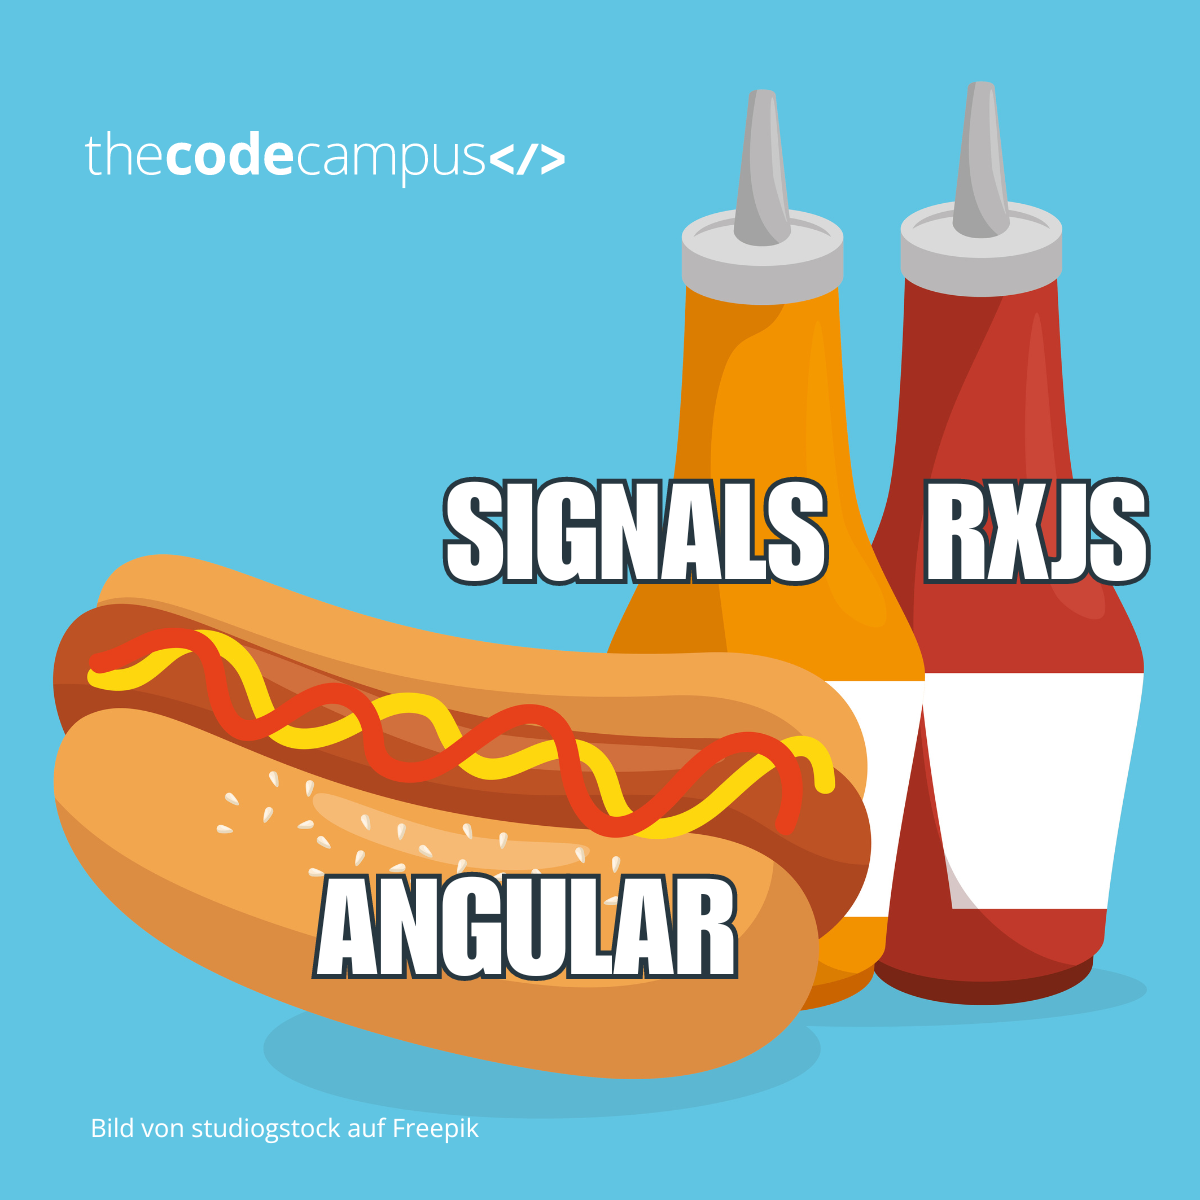
Angular Signals Part 2 – How to combine Angular Signals and RxJS
Klicke hier für die deutsche Version des Blog-Posts.
Angular 17: Signals + RxJS = Perfect Match
In the first article of this series, Angular Signals Part 1 – How-to guide on Angular Signals, we summarized what Angular Signals are and how to use them. Now let’s take a look at why Signals are not a replacement for RxJS and how to best combine both technologies.
As already mentioned, Signals are particularly well suited to managing synchronous states in the application. However, this means that they take over a task that was previously handled by RxJS. So the question is whether Signals will completely replace RxJS?
The answer is: No.
To understand why RxJS does not become less important with the use of Signals, you need to know the application purposes of the technologies and their strengths and weaknesses. This is exactly what we will do in this article.
Strengths and weaknesses of the technologies
To choose the right technology for the right application, you need to know about its advantages and disadvantages. Next, we will look at the strengths and weaknesses of Signals and RxJS.
RxJS
The following section is of course not a complete analysis or introduction to RxJS. It is only intended to provide an overview so that an assessment and differentiation can be made regarding Angular Signals. If you would like to know more about RxJS, you can take a look at its documentation here.
There are two areas that RxJS covers. One is the management and coordination of asynchronous events, the other is reactive programming. With the observable pattern, RxJS can efficiently handle asynchronous events and operations as data streams.
The large number of operators, such as map or filter, which are available for processing and converting observables, is a great strength of RxJS. This allows complex tasks, such as coordinating multiple events or combining data streams, to be solved in a simple and readable way. Observables also allow us to handle and process HTTP events such as success, error and completion. With the HTTP client, Angular even provides us with a service that allows us to work directly with observables. In contrast to working with promises in JavaScript.
RxJS, with libraries like Tydux and NgRx, has been the go-to for global state management so far. At this point, signals can now make our lives much easier.
Angular Signals
In contrast to RxJS, Signals have limited functionality when it comes to reacting to events. Since you can only use the effect() and computed() function to react to changes and do not have as many and extensive operators at hand, more complex tasks in particular can lead to a lot of unreadable code. Signals do not have classic and well-known operators such as catchError or switchMap, which are responsible for canceling requests at a certain point in time when a new request with new data arrives.
Signals do not aim to replace RxJS entirely, but to simplify reactive programming.
A good example are the following code blocks, which both represent the same functionality. If the variables firstName or lastName change, the variable fullName should be updated.
The first block shows how RxJS solves this task with the fullName$ observable. We use combineLatest to create a new observable that combines our two observable sources. We must remember that combineLatest only produces values if both firstName$ and lastName$ have returned a value at least once. To use the actual value of fullName$, we need to subscribe to the observable. Then we also have to take care of terminating the subscription.
|
1 2 3 4 5 6 7 8 9 |
public fullName: string | null = null public fullName$ = combineLatest([this.firstName$, this.lastName$]).pipe( map(([firstName, lastName]) =>`${firstName} ${lastName}`), ); // Usage with subscription and takeUntilDestroyed operator fullName$ .pipe(takeUntilDestroyed()) .subscribe(fullName => this.fullName = fullName) |
With signals, using the computed() function, the whole thing looks different. We access the value of a signal by using the round brackets. In the computed() function, the dependencies on the content of the signals firstName and lastName are automatically recorded, just because we have used their content. We also no longer need to manage subscriptions. And last but not least, signals always have an initial value when they are created.
|
1 2 3 4 5 6 |
fullName = computed(() => { return`${this.firstName()} ${this.lastName()}`; }); // Usage with () fullName() |
RxJS is a powerful and versatile tool with many powerful operators. We need to understand the behavior of the individual operators in order to be able to work safely with RxJS. In addition, we have to take care of the creation and combination of observables and their subscriptions. Signals, on the other hand, are simpler to use. We do not need to manage subscriptions and dependencies. However, the execution of Signals is synchronous and can therefore only replace the synchronous parts of RxJs and simplify programming and state management.

How to combine the two approaches?
Now that we have established that RxJS is still important and relevant, the question remains of how to use the two technologies together. In principle, exactly as we stated above. Signals are used for synchronous operations, such as state management, and all asynchronous operations, such as events and queries to the database, are handled with RxJS.
There are two functions that ensure that this interaction works smoothly.
toSignal()
The toSignal() function can be used to generate a readonly signal that tracks the value of an observable.
In our example, we have an observable movies$, which is waiting for the response of an HTTP request, in our case a list of movies. The Signal movies is linked to movies$ with toSignal() and as soon as the response is there and the observable outputs the movies received, the movies Signal is also updated.
|
1 2 3 4 5 6 7 8 |
private movies$ = this.http.get<MovieResponse>(this.url).pipe( map((data) => data.results.map((m) => ({...m}) as Movie), ), shareReplay(1), ); movies = toSignal(this.movies$); |
We can then use this Signal in the template to display the movies. This means that we no longer need an async pipe in the template.
toSignal() subscribes by itself to the corresponding observable and also unsubscribes automatically if the component or service in which the call was made is destroyed.
However, there is one more thing to watch out for. Since toSignal() immediately subscribes to the observable, various side effects can occur. For example, if an HTTP request is attached to the observable, this call is executed immediately, regardless of whether there is currently a component that wants the data. This can be particularly difficult in shared services.
Memory leaks are also something to keep in mind. toSignal() can only be called in an injection context or with an injector. This means that if the injector, and the associated Signal, exist beyond the lifecycle of the component, memory leaks may occur. This is particularly the case if toSignal() is called in root services or root components.
toObservable()
In contrast to toSignal(), toObservable() is used to create an observable that tracks the value of a Signal. This allows you to trigger another HTTP request, for example, and reload further data.
In our example, we have a Signal selectedMovie that saves the movie that the user has just clicked on. With toObservable() we can react every time selectedMovie changes and make another HTTP request in the observable pipeline to retrieve the characters of the movie. We then intercept the corresponding response with the movieCharacters$ observable.
|
1 2 3 4 5 6 7 |
selectedMovie = signal<Movie | undefined>(undefined); private movieCharacters$ = toObservable(this.selectedMovie).pipe( //... See the complete code in the StackBlitz below this.http.get<Character>(characterUrl))), ), ); |
This allows us to react to synchronous state changes with asynchronous operations. The movieCharacter$ observable can now also be made available again with a signal for templates.
With the toSignal() and toObservable() function, asynchronous processes can be handled and encapsulated very well in the service. Only signals that are used for synchronous state management are then accessible to the outside.
ngxtension
ngxtension is a library with utility functions for Angular, which are intended to make development with Angular more convenient. There are already more than ten functions that make working with Signals easier. We would now like to introduce two of these functions that we find the most practical.
toLazySignal()
The toLazySignal() function works in a similar way to the original toSignal() function, with the exception that a subscription is not generated immediately. toLazySignal() therefore comes into play exactly where we saw a problem with toSignal() above. Only when the signal is read for the first time does Angular subscribe to the corresponding observable.
|
1 2 3 |
const people = toSignal(this.people$); const planets = toLazySignal(this.planets$); |
You can see from this code snippet that the functions are used in exactly the same way. In the embedded StackBlitz project, we have also compared the two functions in a component so that you can try out the subscriptions for yourself.
connect()
The connect() function links a signal with an observable. This doesn’t sound any different from the toSignal() function, but while toSignal() only returns a readonly signal, connect() returns a writeable signal.
So if you want to set the value of a signal based on an observable, you can do this as shown in the following example:
|
1 |
connect(this.signalName, this.connectForm.valueChanges); |
The Signal signalName is linked to the valueChanges observable of the FormControl. Whenever the form is updated because the entered value is changed, the Signal is also updated.
However, connect() does not only have this one application purpose. It is also possible to connect two Signals with each other, whereby a writeable Signal is obtained again, and connect() also makes it possible to connect any number of streams with just one Signal. There are therefore a large number of use cases where the connect() function makes your work easier.
Experience is the best teacher: Hands-On with Signals and RxJS
Are you ready to put theory into practice? In this interactive StackBlitz example, we’ve created a sample application that takes the basic concepts of RxJS and Signals and includes all the examples and features presented. Dive in and experiment to see Signals and RxJS in action!
And now what?
Angular Signals are still relatively new and it remains to be seen how things will develop with Signals in future Angular versions. Since we are all learning every day and we want to make working with Signals even easier for you, we want to take a closer look at Signal Inputs in the next article in this series and compare them with the classic @Input decorator.


Anne Naumann
Developer at 
Hi, I'm a web developer with a focus on frontend technologies, especially Angular. I also have a lot of fun when it comes to UI/UX and when I need to make room for new books on my bookshelves.
I'm also a trainer at theCodeCampus