
June 17, 2019
Building a rearview mirror app with Electron and Angular
Coming up with the idea
Let me sketch the scenario which led me to implement the rear view mirror desktop application. I was trying to fix a rather strange bug, at some point I realized I was stuck and asked a colleague for help. When we both realized that we need to ask another developer if he has an idea how we could approach the problem we drew attention from even more colleagues and all of a sudden 4 people where standing behind me, looking at my screen, arguing about solutions, pointing at lines of code on my screen – it was pretty hectic.
It felt like I was driving on the highway with 3 kids on the backseat of my car, having a noisy argument. I felt like I needed a rearview mirror to observe what the kids behind me are doing.

In the following article I’ll guide you through the process of creating the application. The source code is available on GitHub https://github.com/kaihenzler/electron-rearview-mirror
You can find the binaries at: https://github.com/kaihenzler/electron-rearview-mirror/releases/tag/1.0.0
Step 1: Looking for existing applications
Anytime I have such an idea I quickly look for already existing application on the internet. Because I’m using a Mac as my developer machine I started looking for apps in the Mac App Store. I found 4 applications which ranged from 1€ – 4.50€ and just display a rectangular image of your Laptop camera – not what I wanted. Looking for alternatives outside the Mac App Store also failed, I couldn’t find a suitable app that would fit my needs.
Step 2: Let’s build it on my own
There is no suitable available for free on the internet, so “let me build it on my own” I thought. As my focus is on web development and I don’t have any experience in writing Mac application I figured I should use web technologies to build this app. Building it using web technologies would also result in a cross-platform application that should work on all major operating systems. When talking about web technologies and desktop application the first thing that comes to your mind is Electron. I have never developed an electron application but on there website they state:
If you can build a website, you can build a desktop app. Electron is a framework for creating native applications with web technologies like JavaScript, HTML, and CSS. It takes care of the hard parts so you can focus on the core of your application.
I though that this shouldn’t be a problem for me, as I’m pretty experience with web technologies.
Step 3: Let’s use an Angular starter
As I’m very familiar with Angular I tried to look for an Electron starter-application that already bundles Angular. In hindsight I could have used plain JavaScript/TypeScript to build it as pretty much no Angular-specific code was needed to do the job. Googling for “angular electron starter” gives you an amazing repo on GitHub that seems to include everything you need.
https://github.com/maximegris/angular-electron
Cloning the repository
|
1 |
git clone https://github.com/maximegris/angular-electron.git |
and installing the dependencies is all you need to get started
|
1 |
npm install |
to start the application you can execute the following in the project’s root folder
|
1 |
npm run start |
Step 4: Display the live camera video
Template
A couple of years ago I would’ve said that this is a huge effort and requires multiple developers to code for weeks to get this done for all operating systems. Luckily we live a world where modern Javascript and HTML API’s make our lives much simpler.
We will do all of our work in the HomeComponent -> src/app/components/home/home.component.html
let’s get rid of the current content of the file and setup the HTML Template
|
1 2 3 4 5 |
<div class="container"> <div class="camera-wrapper"> <video #camera autoplay></video> </div> </div> |
The important part is the <video> tag in the inner div. The 2 wrapping div’s are just used for the styling and layout, we’ll get back to that later. We first add the autoplay attribute to the <video> element that starts playing a video once we connect a MediaStream. The second thing we’re going to add is the #camera Template Reference Variable so we can easily select this element within our component class.
Component
|
1 2 3 4 5 6 7 8 9 10 11 12 13 14 15 16 17 18 19 20 21 22 23 24 25 26 27 28 |
import { AfterViewInit, Component, ElementRef, ViewChild } from '@angular/core'; @Component({ selector: 'app-home', templateUrl: './home.component.html', styleUrls: ['./home.component.scss'] }) export class HomeComponent implements AfterViewInit { @ViewChild('camera') camera: ElementRef<HTMLVideoElement>; constructor() { } async ngAfterViewInit() { try { this.camera.nativeElement.srcObject = await navigator.mediaDevices.getUserMedia({ video: { width: 590, height: 165, } }); } catch (e) { alert('could not connect stream ' + e); } } } |
We first take a look at line 10+11. In this statement we are using the ViewChild() decorator of Angular to get a reference to the <video> DOM Element we added in the step before. This gives us access to the raw DOM Element within the ngAfterViewInit lifecycle hook. We can now access it with this.camera.nativeElement
In the next step we want to get the MediaStream of our laptop camera. Fortunately there is a very simple API for that. By simply calling navigator.mediaDevices.getUserMedia() in line 18 we get a Promise of a MediaStream. We are using async/await in combination with try/catch to easily assign the MediaStream to the srcObject attribute of the <video> element.
That was all the magic to get a live video of your webcam showing up in your Electron App.
Step 5: Styling to make it look like a real rearview mirror
A quick Google search gives us a few promising images we can use for the background. The asset is also added to the GitHub Repo, license and source is mentioned in the readme.md in the repository.
Once we added the image to the src/assets folder and renamed it to rear-view-background.png we can look finally write some css to style our component. We are once again only working in the HomeComponent. I’m not going through all the things we are doing in here. But to summarize:
- Display the Background image in the center of the Viewport
- Fit the <video> element in the mirror and round the corners
|
1 2 3 4 5 6 7 8 9 10 11 12 13 14 15 16 17 18 19 20 |
.container { height: 100%; display: flex; align-items: center; justify-content: center; -webkit-background-size: cover; background-image: url("assets/rear-view-background.png"); background-repeat: no-repeat; background-size: 100%; background-position-y: center; .camera-wrapper { padding-top: 40px; video { border-radius: 45px; } } } |
Step 6: Configuring Electron
Until now our Application still has the default dimensions of the starter application. In this step we want to accomplish the look-and-feel of a real rear-view mirror. Typically the rear-view mirror is on the top right side of your viewport when your driving a car (or you live in a country where you drive on the left side of the road – you might want to tweak the settings to fit your needs). We also want to make the background of the application window transparent, so we only see the transparent background png and your desktop should shine through.
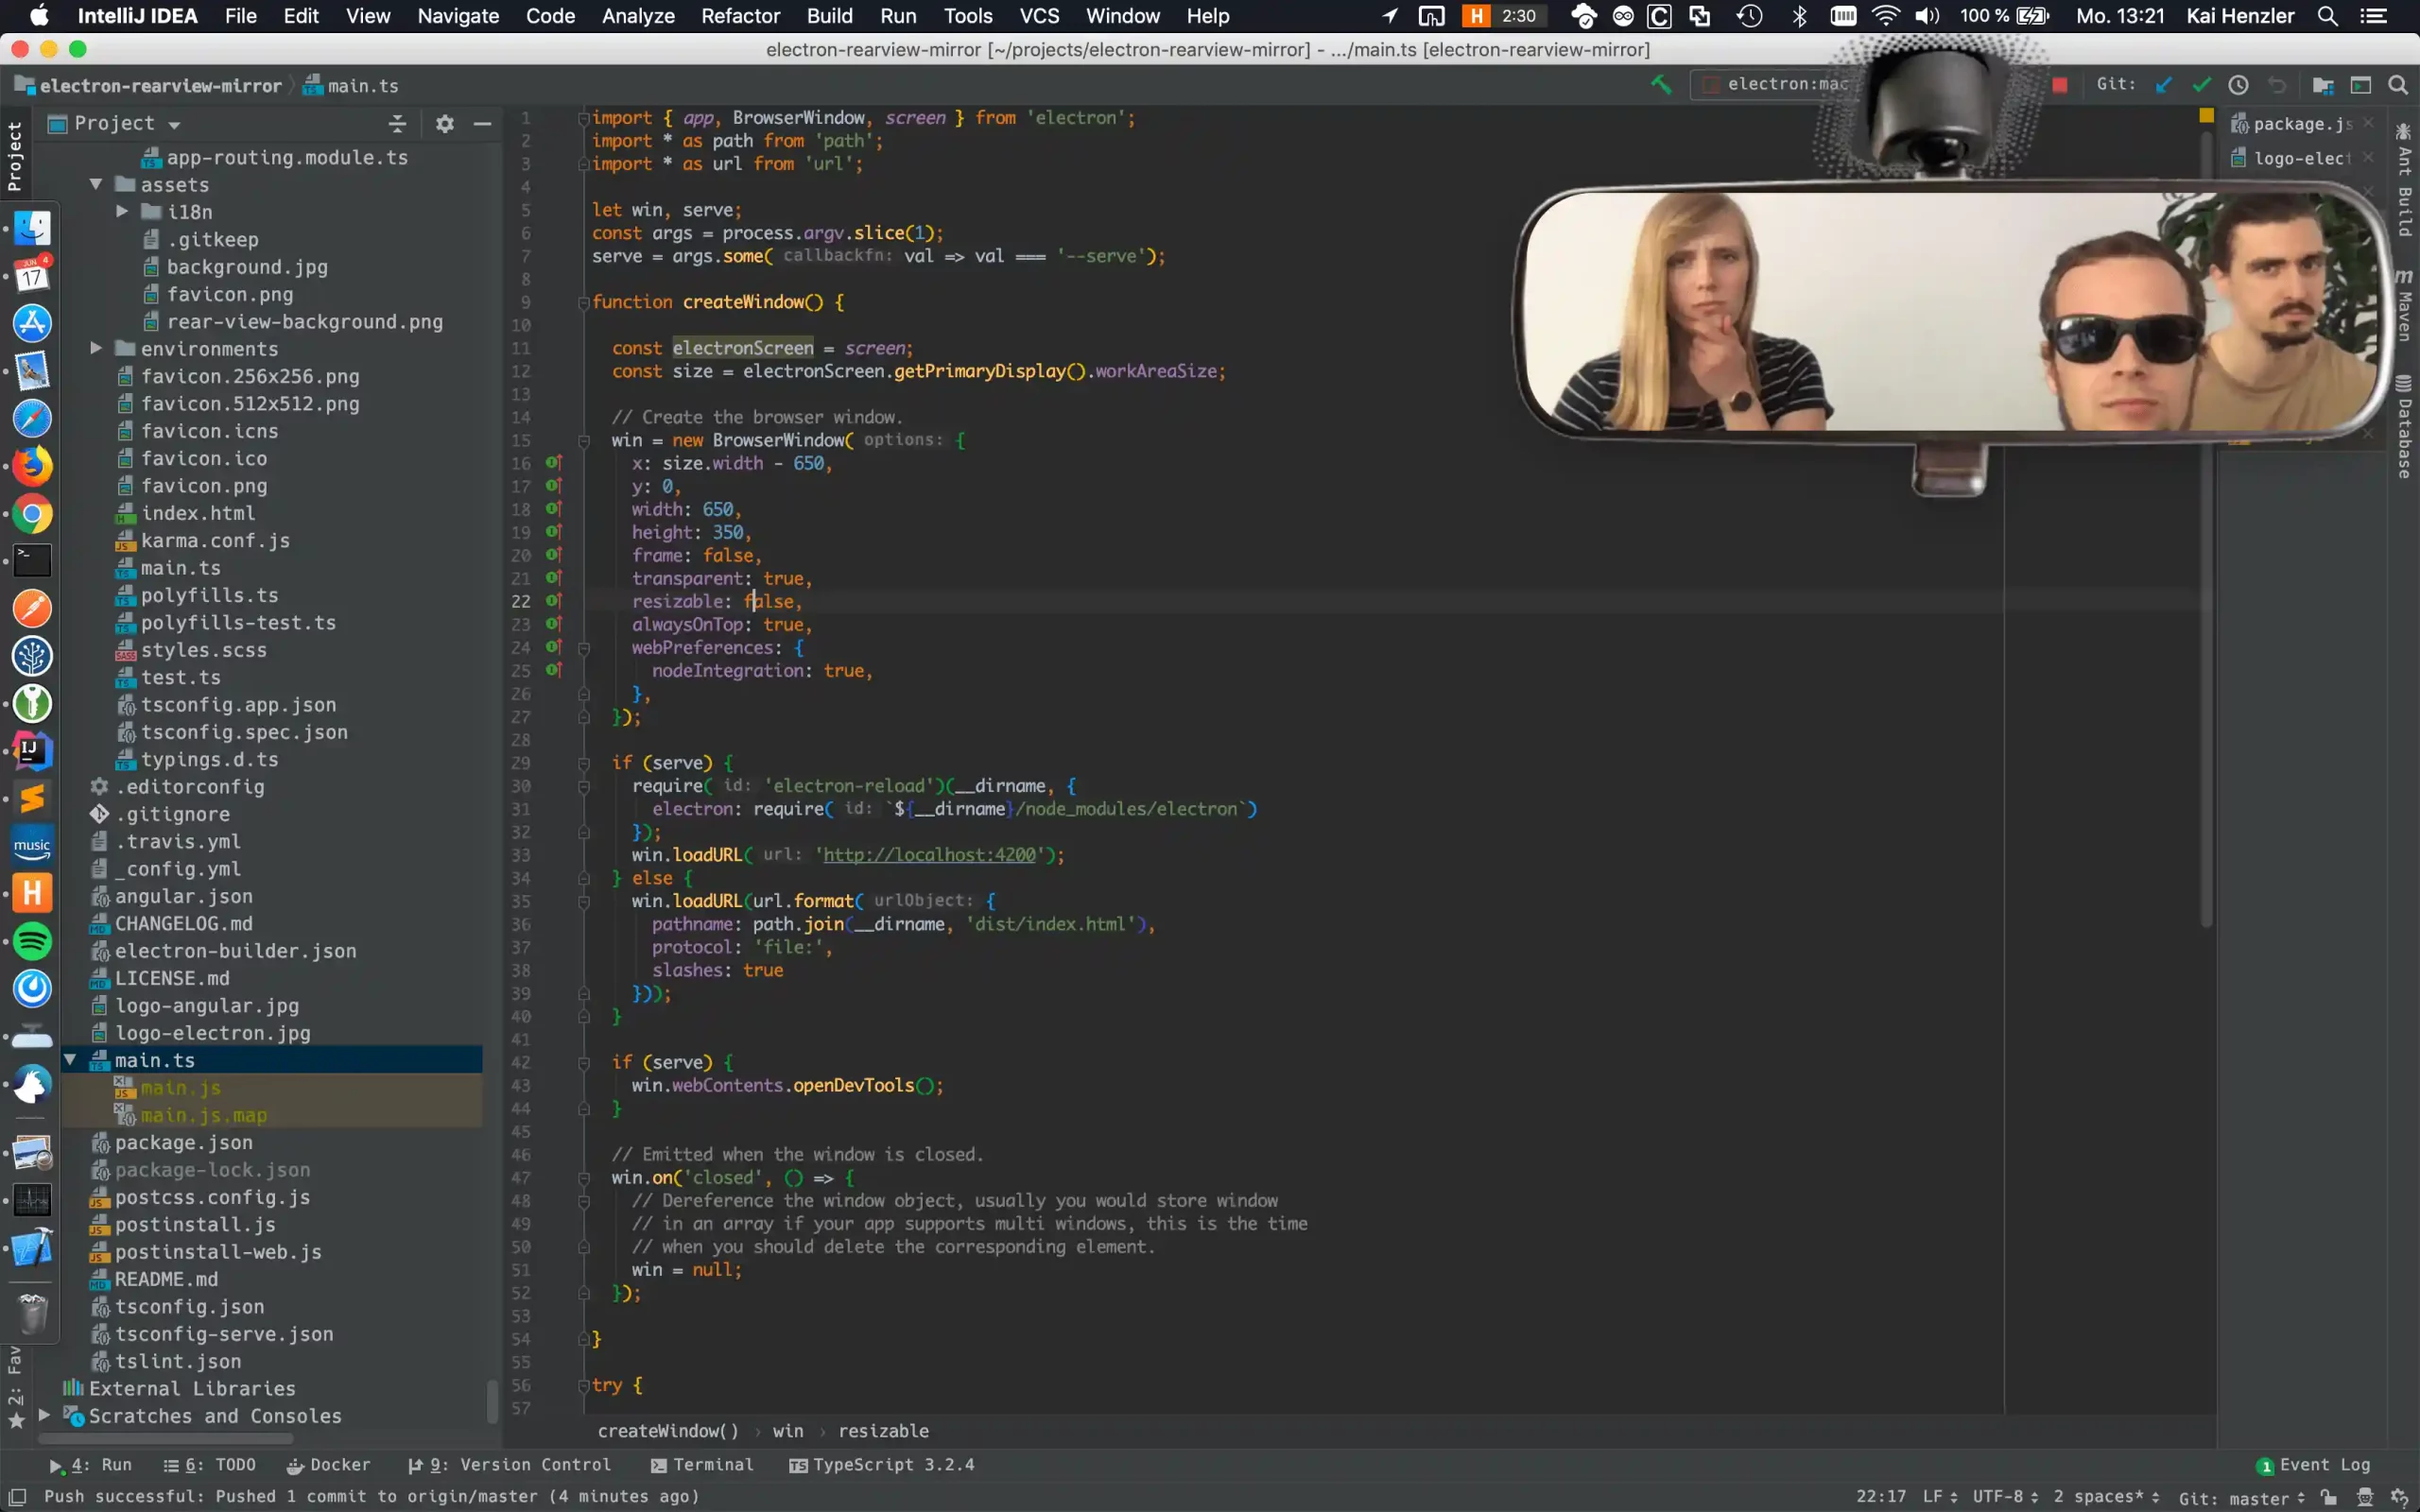
In the Electron Angular starter there is a main.ts file where you can adjust the settings.
|
1 2 3 4 5 6 7 8 9 10 11 12 13 14 |
// Create the browser window. win = new BrowserWindow({ x: size.width - 650, // right side of the screen - width y: 0, // all the way on the top width: 650, // width of the mirror height: 350, // height of the mirror frame: false, // no frame around the main window transparent: true, // added this for transparent background resizable: false, alwaysOnTop: true, webPreferences: { nodeIntegration: true, }, }); |
Just take a look at the comments next to each line. We basically position the mirror on the top right corner, make it always appear on top when started, make the background transparent, remove the Frame around the main window and we block the resizing.
To make the transparency work across platforms we have to introduce a little hack for linux. Also in the main.ts we have to delay the startup of the application a tiny bit (500ms).
|
1 2 3 4 5 6 |
// This method will be called when Electron has finished // initialization and is ready to create browser windows. // Some APIs can only be used after this event occurs. app.on('ready', () => { setTimeout(createWindow, 500); }); |
A further optional step would be to replace the standard App Icon with a custom one. Similar to how we searched for a suitable background image, we can do a search for an App Icon. We just have to replace all icons (5 in total), that start with favicon* in the src folder of the app.
Step 7: Bundling the Application
We programmed our application and adjusted the Electron config to fit our needs. We now want to create executables for our target operating system. Luckily the starter already has scripts that allow us to easily bundle the application. We can run either of the command to build an executable/installer.
|
1 2 3 |
npm run electron:mac npm run electron:linux npm run electron:windows |
After the command finishes the will be a release folder in the project root. If you build the app for Mac there is a .dmg for Windows there is a .exe and for linux there is a *.AppImage
Note:
Windows and Mac can simply execute the resulting package. On Linux you first have to make the package executable (use chmod to make it executable).
Summary
This article shows how easy it can be to create funny (and a bit useless) application. The initial implementation of this rear-view mirror took me about 45 minutes, which is pretty impressive. I enjoyed working with Electron – it’s nice to debug because it basically is just a Google Chrome.
The code can be found at: https://github.com/kaihenzler/electron-rearview-mirror
The binaries can be found at: https://github.com/kaihenzler/electron-rearview-mirror/releases/tag/1.0.0
Kai Henzler
Developer at 
Thanks for sharing this information with us regarding cars mirror. I really found this very helpful. And Your blog also very interesting.
Haha.. A great idea.